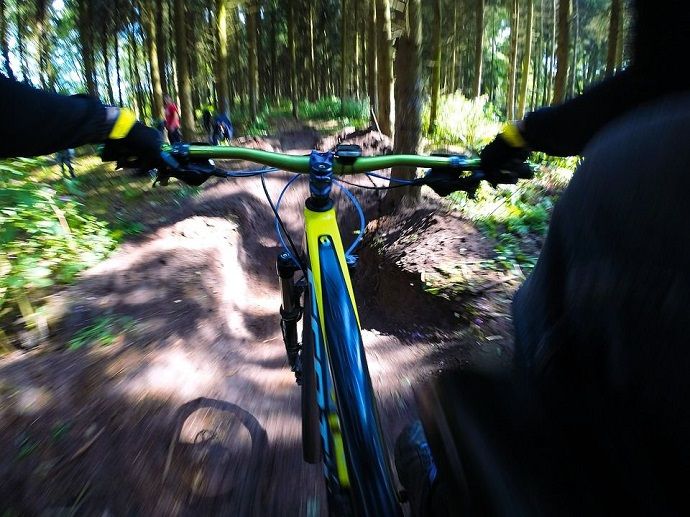
Mountain biking is an entertaining sport that is growing and growing every year. The beauty of it is that it can be done to an extreme in professional racing, or you can do it as a casual Sunday activity. I have been mountain biking for years and feel everyone should try it at least once.
Many people struggle with comfort on mountain bikes, and many people don’t understand how they can adjust their mountain bikes to make them much more fun to ride.
Changing the seat height is much more straightforward. When it comes to handlebars, it is quite a bit more challenging. In this article, we will tell you how to do it.
Why Do We Adjust Our Mountain Bikes Handlebars?
We adjust our mountain bikes handlebars for many reasons, and it can drastically change the way your bike feels to ride. Here’s are a few reasons people change their handlebar height.
For comfort
By raising the handlebars or bringing them close to you, it is possible to make the ride much more comfortable on a mountain bike.
For Speed
By adjusting your handlebars, you can make yourself more aerodynamic. Being more aerodynamic will make you faster, not by a considerable amount, but it will be an improvement. Everyone wants a faster mountain bike.
For Control
Having the bars in the correct position can completely change how the bike feels when controlling it.
Why Should You Experiment With the Mountain Bike’s Handlebar Position?
Bikes are not often made for a unique person. It’s an industry rule that bikes typically are adjustable. This is so they can fit various users and means bikes can be mass-produced.
It would be best to experiment with handlebar height because it will make the bike much more comfortable. Many cyclists change their handlebar height depending on what they want the bike for.
If you are planning on going on longer rides, you’re going to want the bike as comfortable as possible. If you’re planning on racing your bike, you will need to be as aerodynamic as possible and have the most control.
One of the most common things that cyclists do is adjust their bars or even get a bike fit where someone professional will do it for you.
How High Should My Handlebars Be on My Mountain Bike?
It’s a very personal preference, and you will find it comes down to the user themselves. It comes down to user flexibility, what kind of riding the user wants to do, and also how often or far they ride.
The best thing you can do to start with is to put your handlebars at the same height as your saddle. This is a great starting point.
We Think You’ll Like It: How Much Weight Can a Mountain Bike Hold?
How to make your mountain bike feel more comfortable
If you want to make your bike more comfortable, the best place to start is to bring your handlebars back and higher. This will straighten your back more and will take a lot of pressure out of your hands.
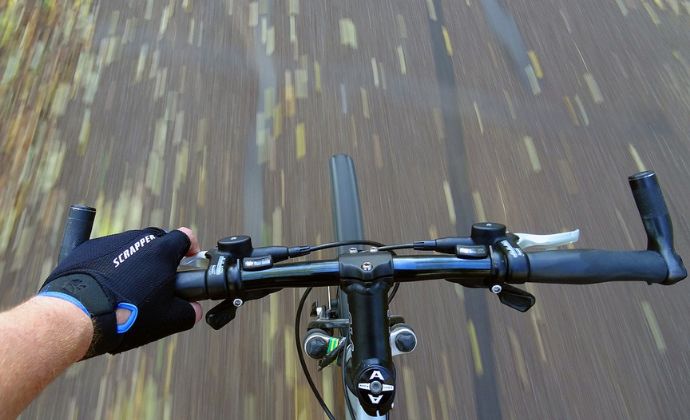
How to make your bike more aerodynamic
Suppose you want to get more aerodynamic and hopefully make yourself quicker, then you can move your handlebars forward and lower them. This stretches the body out and brings you much lower, making you and the bike cut through the wind much more efficiently.
How to make your bike more controllable
If you want to make your bike easier to control, many people tend to level the bars with the saddle and then make sure the handlebar is in an optimum position to move the bars quickly and freely.
This is unique to each user and will take some testing. It’s common for cyclists even to make their handlebars wider to give them better control.
Where Do We Start When It Comes to Adjusting Our Mountain Bike Handlebars?
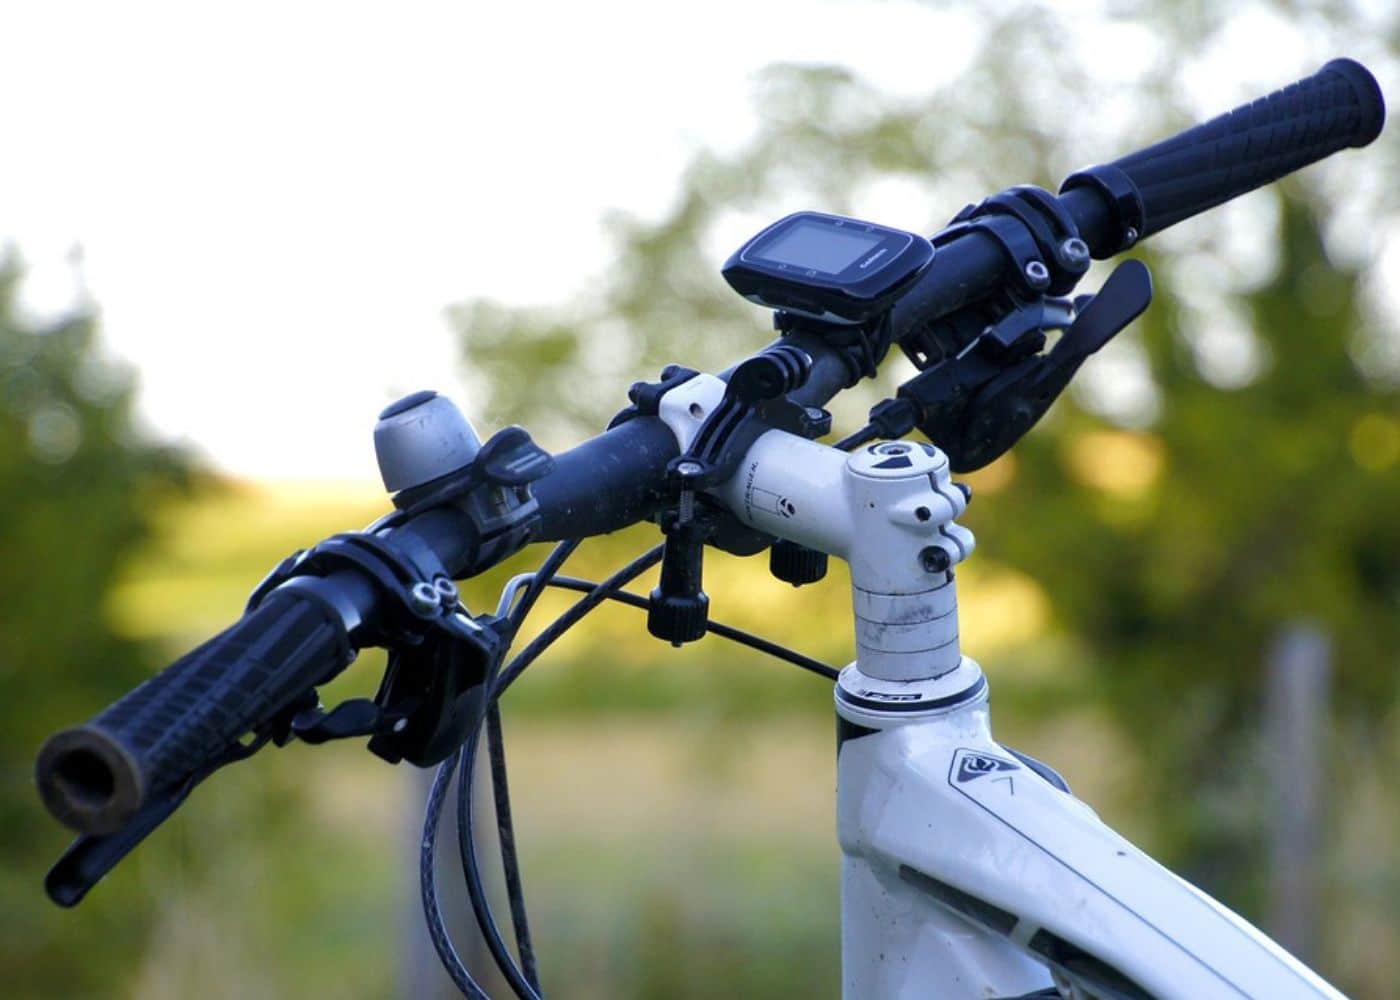
When adjusting your handlebars, you have a few different options for making them correct for you. You can change your handlebars altogether to change the position, or change the stem, or the position of the stem with the right measurements.
If you don’t feel confident in doing the work on your bike your local bike shop will be able to help you. If you plan to do this yourself we advise using a torque wrench.
How to Change Your Handlebars
To change your handlebars on your mountain bike, the first thing you need to do is remove the grips, brakes, and shifters from the bars.
After you have done this, you will need to remove the bolts that hold the handlebar on, once these are removed, the plate at the front will come free, and the handlebars will drop.
Once free, swap the bars out, and they tighten the bolts up to the correct torque settings making sure that the bars have an even length on each side.
When it comes to tightening the four bolts, I recommend going top left, bottom right, top right., and bottom left. We do this, so the plate is applied evenly.
You also need to make sure the bolts are all in evenly. Then add the brakes, gears, and grips back on, and you’re good to go. Make sure the brake levers are in the right place and the handlebar angle is in the place you need it.
Different Types of Handlebars
I’m commonly asked about different types of handlebars that you can buy for your mountain bike. There are many you can buy on the market. The most common you will come across are;
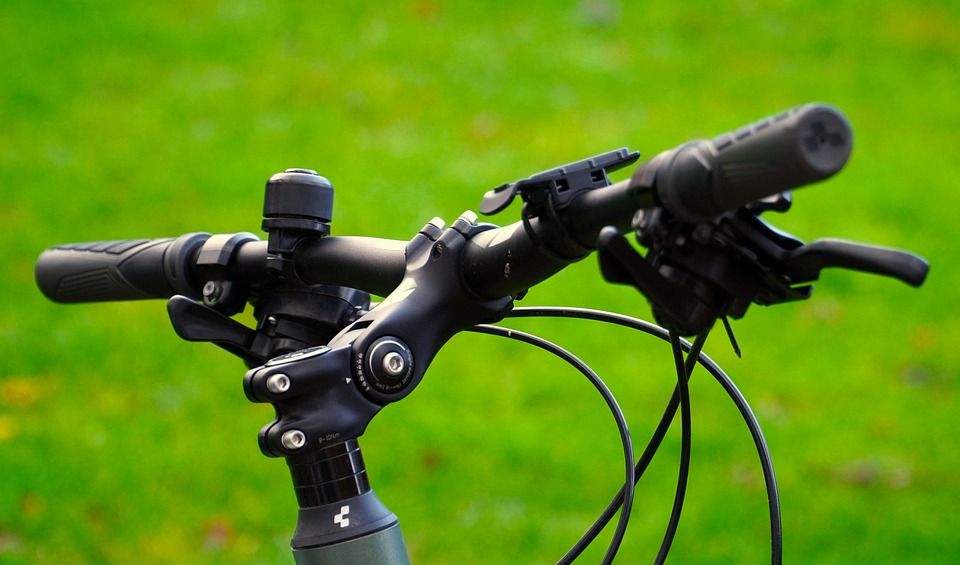
Riser Bar
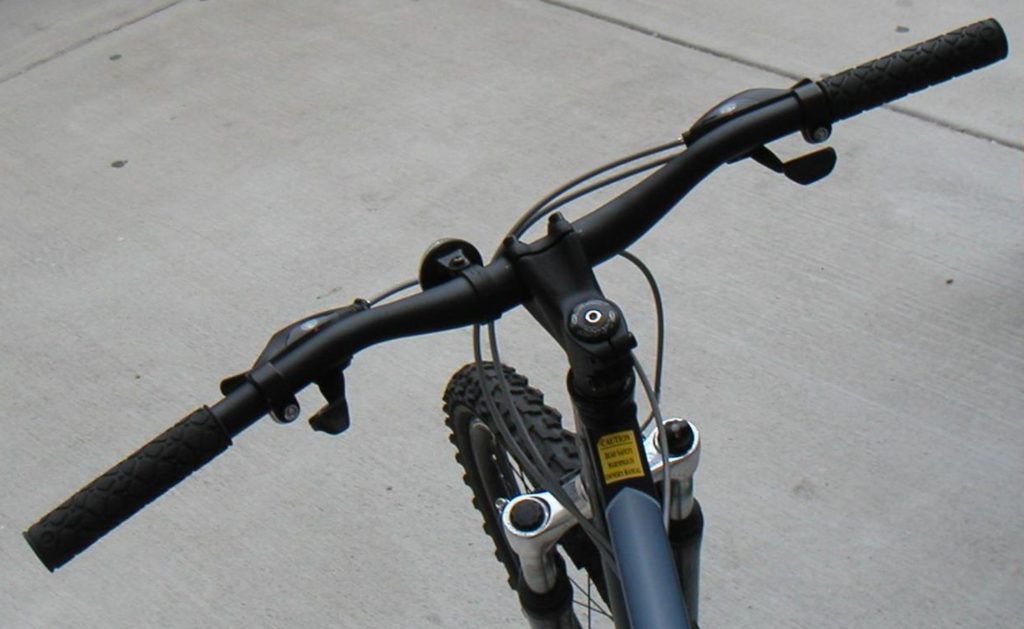
These are the standard bars you will see on a mountain bike
Upswept bar
These are similar to the riser bar, but they sweep at the sides to bring your hands higher
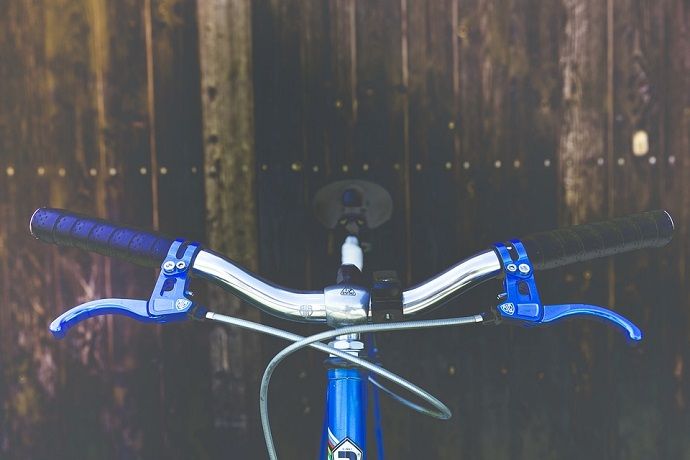
Backsweep bars
These bring the handlebars closer to the user
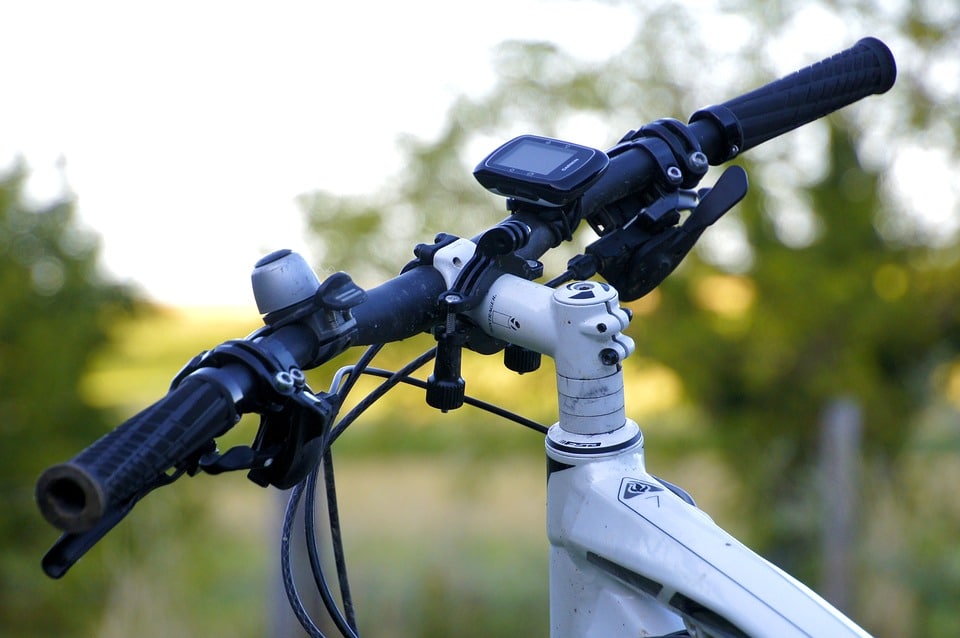
Stems
An easy way to completely change the position of your handlebars is to change your stem. This is the small bridge that holds your handlebars on. You have a few different types of stems, and the main two are modern and threaded stems.
Mountain bike stems come in a variety of different shapes and sizes. The first thing to think about is the length, typically they start at about 35mm and go up to about 130mm.
Then you have the angle, then range from negative 10 degrees to plus 17 degrees. Pick the right time you need for your bike, and now it’s time to change it.
Changing or Adjusting Mountain Bike Modern Stem
There’s a little more to think about when changing the stem than meets the eye. Firstly you need to make sure the stem can be changed.
Some bikes use custom stems, and they cannot be changed, or you have to use one supplied but the manufacturer that makes the bike.
We recommend any work you do on your bike use a torque wrench and follow the manufacturer’s torque settings.
Step one: Remove the handlebars
If you are using the original stem and plan to adjust it higher and lower, you don’t always have to remove the handlebars altogether. If you are changing the whole stem, you will need to.
To remove the handlebars, you will need to undo the four bolts at the front of the stem. After you have done this, the handlebars will come out.
Step 2: Replace the stem
The following job is to adjust or change the stem, you’re going to want to undo the stem cap bolt at the top of the fork’s steerer tube first and put the stem cap bolt and stem cap in a safe place.
This will loosen your headset. Then, you need to loosen the bolts at the rear of the stem, and the stem will slide off. You might find there will be spacers on many bikes, and you will need to slide these off too.
You now need to put the new stem on or move the old one, this can be placed where you need it, and you stack the spacers around it.
Moving the spacers is an easy way to heighten or lower the bars. Never take any spacers out. They all need to be there.
You also need to make sure there’s a spacer under and above the stem, though. Make sure it is the right way up to create the height you need. Do not tighten the bolts yet.
Step 3: Tighten the headset and stem
We now need to tighten the headset, you might have noticed your forks steerer tube has become loose and now your front wheel might feel loose. We’re going to fix that now.
We first need to pop the top stem cap, bolt it back on, and then tighten it until the headset has no play in it. Once you have done this, tighten the two rear bolts on your stem make sure that the stem and the front wheel point in the same direction.
To check it is tight press the brake on the front wheel and try and push the bike forward. Make sure the bike doesn’t clunk back and forth when trying to move it forward.
Step 4: Put handlebars back in
If you removed the handlebars, you would need to complete this step. Once you have got the stem nice and tight on the rear, you will need to tighten the handlebars back up.
When it comes to tightening the four bolts, I recommend going top left, bottom right, top right., and bottom left. We do this, so the plate is applied evenly. You also need to make sure the bolts are all in evenly and the handlebar angle is correct for you.
Step 5: Finish up
Make sure everything is nice and tight, and get ready to go and ride your bike.
We Think You’ll Like It:
How Should a Mountain Bike Fit
What Are the Best Mountain Bike Brands?
How to Adjust a Mountain Bike Threadless Headset Stem
Adjusting a threadless step is much easier. Threadless stems are something you will find on older bikes or even some modern-day classic design bikes. Using the original stem, you can make it higher or lower or replace the stem to make it longer or shorter.
Step 1: Handlebars
If you’re planning on changing the whole stem, you will need first to remove everything from the handlebars and then remove them. If you are adjusting, then leave the handlebars as they are.
Step 2: Top Cap
Next, we loosen the top cap bolt, which will make the handlebars loose. You can shift them up or down here. Make a note of where the handlebars maximum height is.
You don’t want to exceed this. If you plan to change out the stem, you can swap it here. When you have made the modification tighten it back up, making sure the stem and front-wheel point the same way.
Step 3: Finishing touches
If you changed your handlebars, you need to rebuild them and get everything tight. If you haven’t, then just make sure everything is tight, the brake lever angle is right and you’re good to ride.
We Think You’ll Like It:
How to Build a Mountain Bike From Scratch
How to Clean Mountain Bike Disc Brakes
Stem Flipping
One thing you can do on many modern day stems is flip them over. This will make it much more upright, or it will drop it depending on the original angle of the stem. You can flip the stem instead of changing it following the guidelines above.
Adjustable Stem
On a modern handlebar stem or classic quill stems, some stems setups are adjustable. This means you can move the stem’s angle and height without having to go through the process above. If you have one of these fantastic. Make sure it’s done up nice and tight before you ride if you do adjust it yourself.
Conclusion
When it comes to adjusting mountain bike handlebars, it comes down to what the user wants out of the bike. Are they looking for more comfort? Do they want to be faster? It’s unique to the user. If you don’t feel confident in doing this a local bike shop will do this at a low price.