
Punctures, general wear and tear, turbo tire conversion, there are many reasons you might want to change your rear tire but are you doing it correctly? Although many people say bikes are straightforward to work on, I don’t believe they are as simple as most people think. Getting that first bike labor experience and understanding the key to completing specific tasks easily.
Why Do We Need to Change a Rear Tire?
One thing that is very common with any bike is it is pretty often you might need to replace the rear tire . There are many reasons for this, and learning how to do it will make your life much easier as a cyclist.
Why might you need to change your rear tire?
Punctures
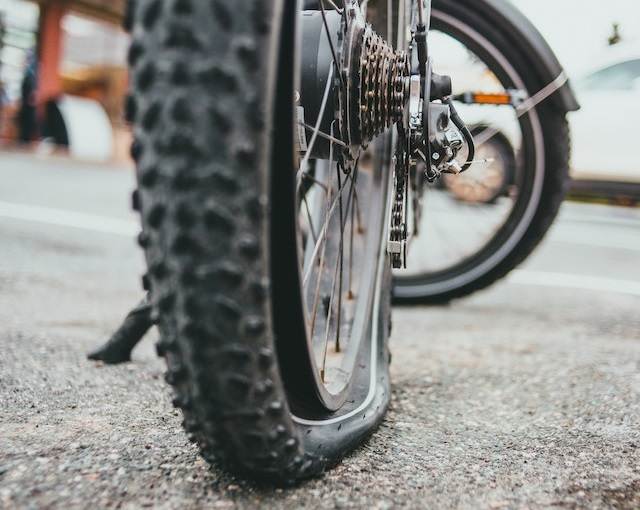
The most common reason for a tire change is getting a puncture. Typically, the punctures are on the rear wheel as this is where most of the weight on the bike sits.
Wear and tear
As mentioned above, most of the bike’s weight is on the rear wheel, and you tend to wear the tire down quicker than the front, so it needs changing more often.
Turbo Trainer Tire Conversion
Many people convert to a turbo trainer tire on the rear wheel, so they don’t wear out their main tires, and this will require the complete removal of the old tire.
Learn more: How much does it cost to replace a bike tire? and When to replace a mountain bike tire?
Let’s Change a Tire on a Mountain Bike
Before we start, you must complete the job correctly. If you are unsure of anything you have done, go and see your local bike shop or have someone who knows about bikes to come and check you have done it correctly. It’s better to be safe than sorry if you’re unsure.
Step One: Get Ready
Get yourself into a safe place to change a bike tire. You might need to do this out on the roads sometime, so before we start doing anything, find somewhere you have space, and there’s no risk of you getting hurt or hurting someone else. Now you are going to need to get your tools ready you will need;
- Track or Hand Pump
- Tire Levers or a single tire lever
- Spare Inner Tube
If you want to make the job really easy for yourself, get the bike in a stand. If you don’t have a stand, then find some soft ground and flip the bike upside down.
Step Two: Remove the Rear Wheel and Tire
Ok, so now we need to get the old bike tire off. The first thing we will need to do is remove the rear wheel. Rear wheels are a bit different compared to the front wheels though it is a straightforward task, and all you need to do is remove the quick release lever or the thru-axle. With rear wheels, you start by popping your gearing into the smallest ring on the cassette. This will make this task much easier. This is the lever in the middle of the wheels, and you will need to turn it anticlockwise to make the wheel loose. When loose, pull the wheel out.
When the wheel is out, now you will need to deflate the inner tube in the tire. You have two different types of valves. The first is a presta valve stem. This will be a small tall round screw thread tube. Unscrew the top and push the core down, and it will deflate. Then you have a schrader valve stem, which will be a short wide tube with a pin in the middle, push the pin down, and the air will release.
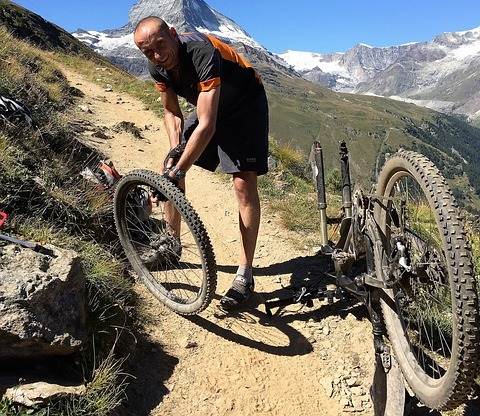
Once you have done this, take a tire lever and put it on the inside of the tire while leaning the other size on the wheel rim. Run it around the whole rim, removing one side of the tire. After one side is free, the other should pull off the rim easily. The bike tube will come free with the tire. Now you have removed the tire and tube.
Check the tire inside and outside for anything that could cause the tire to puncture the inner tube. You can do this visually and by running your hand through the inside. It can be very annoying repairing a puncture just to get another straight away.
Step Three: Put the new tire on
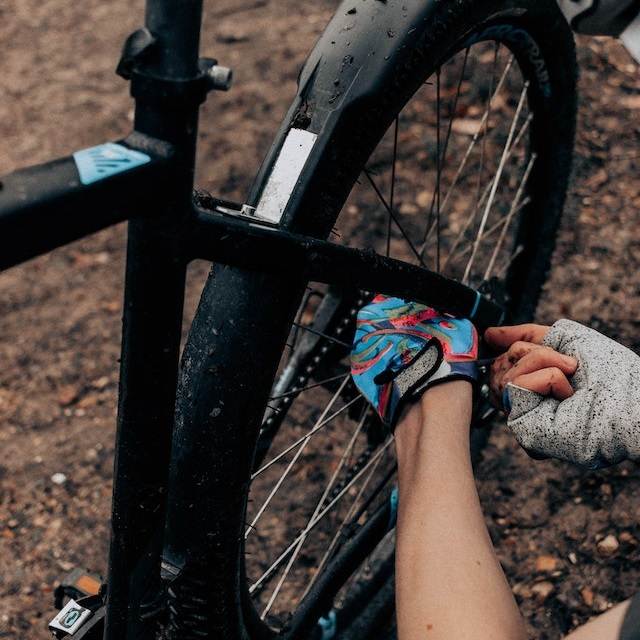
Before you start putting the new tire on, I recommend that you clean the inside of the rear wheel and check that the rim tape on the inside of the rear wheel is not broken or creased anywhere. If it is, you’re going to want to change this. Very rarely will it need changing.
Put half the tire on and make sure it is pointing in the correct direction. If you’re unsure of the rotation direction, it will say on the side of the tire. Make sure it points forward with the disc brake on the left side, looking at it from above.
With half the tire on, you’re now going to want to put your bike tube in. If the tire was flat when changing it, you might need to repair or replace the inner tube. Before you throw it in, pump it up slightly to give it some shape. We do this, so there’s less chance of nipping it when putting the rest of the tire on. Pop the inner tube in and make sure the valve goes through the valve hole in the rim.
Now the inner tube is in, start putting the other side of the tire into the wheel and start by using your hands. Then when it gets to a point where you can go any further, you will want to just pop the rest on with the tire levers being very careful not to nip the tube on the inside when using the tire levers. On some tires, this can be challenging, so take your time and be patient.
Related: How much does a bike tube cost?
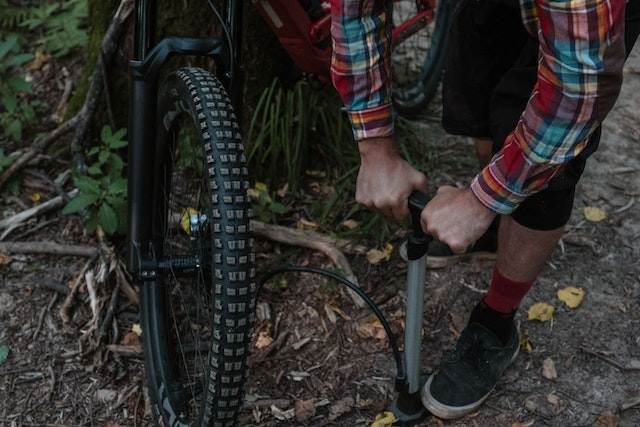
Step Four: Pump up the Tire
Now we have to pump the rear wheel tire up. If you have a track pump with a gauge, you’re going to want to make sure you have the correct pressure. You are going to want to check the max PSI rating on the side of the tire. If it says 50 PSI which is common on mountain bike tires, then go to about 20-30psi. If you want it softer, let a little out, harder add a little more in, depending on what type of riding you plan to do. Make sure with the presta tire valve, when complete to screw it back up again.
If you’re using a hand pump or one without a gauge, you’re going to have to estimate roughly the right amount of pressure. I would make sure it has enough that it won’t hit the rim on a bump, but not too much that when you push on it, it’s not rock solid. I do something called a pinch test. If you can pinch it with your finger and push it in 5mm on each side, then you are in a good place PSI wise.
Once pumped to the correct pressure, you need to ensure that the tire is on the bead properly. So check around to make sure no tire parts are off the rear wheel rim. Then we need to check it is on the bead properly. Hold the wheel at the hub and let it spin freely in your hands. Watch the tire and make sure it is even all the way around. If so, great. If not, you will need to push the tire bead with your thumbs are the side until it is in the correct place. Failing that, pump the tire up to the max PSI till it pops, then remove the air until you’re at the correct pressure.
Step Five: Wheel back in and checks
Now you need to pop the wheel back in. You will need to push the rear derailleur arm out, pop the wheel back in on the smallest cog and then tighten up the quick release lever or thru-axle so it holds the wheel nice and tight in the frame and the wheel has no play side to side. Give the gears a quick test to ensure they all work and the disc brakes do not rub on the disc brakes pads. If it does rub on the brake pads the wheel might not be in full straight, loosen the quick release lever and tighten it again, test to make sure the brake pads don’t rub.
Now pop the bike right side up or out the stand, give it a quick test to make sure it’s ok, and make sure that it works as it should. After this, clean up the area you are working in and put all your tools away. Done!
FAQ’s
Is this the same process if I have rim brakes and not disc brakes?
Yeah, exactly the same process, you might need to release the rim brakes, but you just have to pull the noodle out above it and put it back in after.
On my Mountain Bike, Will I struggle to get the wheel back in?
More than likely you might not have the rear derailleur in the smallest cog, this is the desired derailleur position for wheel removal. Check this before trying to put the wheel in. If the rear derailleur is in the wrong place it can be really challenging.
Even after I changed my tire, Will I still have a flat tire?
Check the tire and the inner tube again to make sure nothing needs replacing. Also, check when you did the rear wheel remove and refit, you didn’t nip the inner tube.
Conclusion
Now you know how to change a rear tire on a mountain bike. Remember to take your time and be safe, if you have any doubts, get an expert to check.