Bikes are a lot of fun, and they benefit us so much. They will improve your health, make you fitter, help you make new friends, help you get to work, and get you out into nature. I believe everyone should own a bike. As great as bikes are, they can often break, and it’s natural for that to happen. It’s like cars. There’s only a certain amount a moving part can work before it breaks, no matter how strong it’s made. You also find that bikes can often be dropped or crashed, causing things to break.
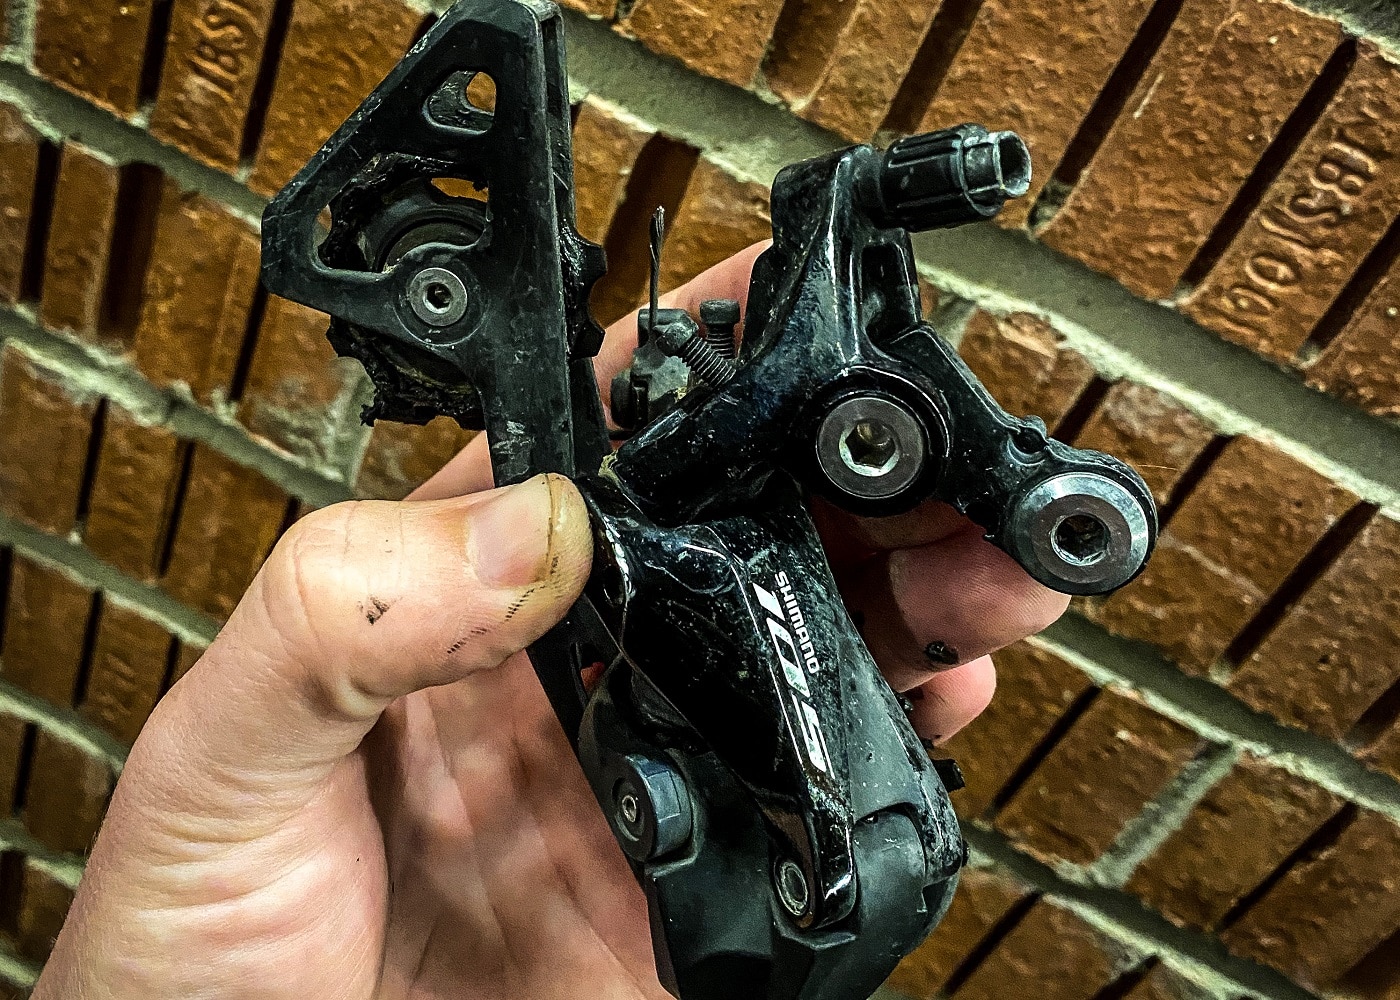
A common issue is the rear derailleur braking. The rear derailleur has a lot of working parts and is very fragile. Not only does it have to control your gears, but it takes all the pressure from the chain while doing it. It is also in a place where it can be easily damaged, and if you fall on the side of it, there’s a good chance it will need changing. In this article, we will show you how to install a rear derailleur on a mountain bike.
What is a Rear Derailleur?
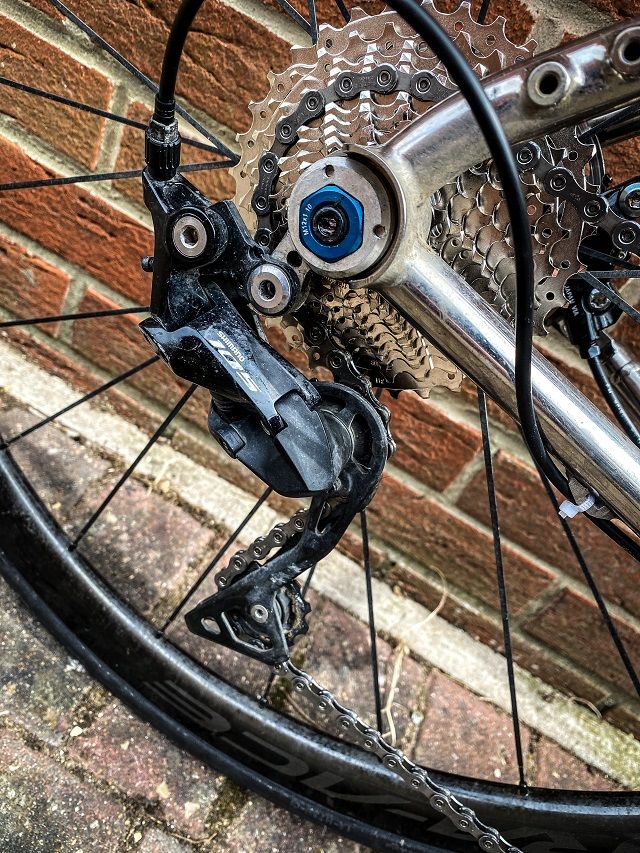
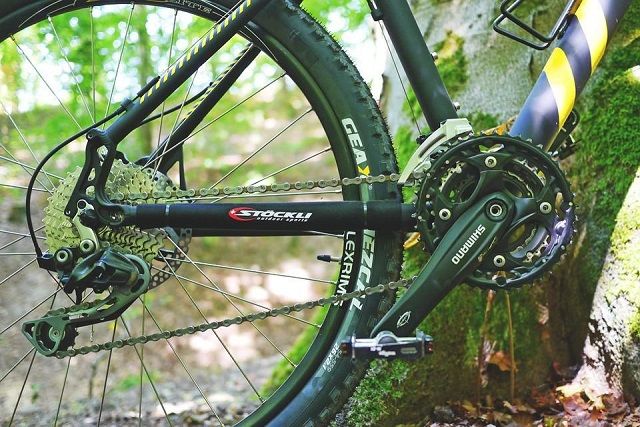
A rear derailleur is a unit that allows you to change gears on the rear cassette. It sits on the bike’s rear in front of the rear wheel and is generally on a derailleur hanger, but sometimes can be directly on the frame. They house the chain and connect it to the front of the bike at the shifters. A cable typically controls them, but some do work electronically in some cases.
What will you need?
When it comes to installing a rear derailleur, you won’t need much and don’t need any special tools for this job.
- Allen keys
- Chain tool
- Wire cutters
- Bike Stand
- Derailleur
Recommended
- New Cable and Outer
- New Rear Derailleur Hanger
- Torque Wrench
We recommend that you take your time and follow the process correctly if you are doing this job. Also, having a safe place to do it and having a bike stand will help you go through this process.
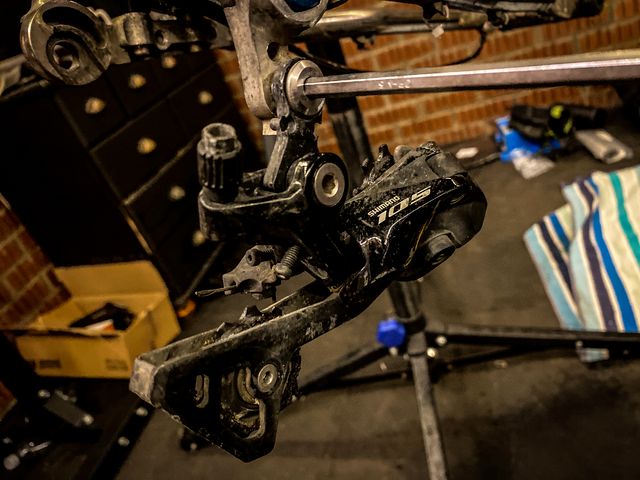
Rear Derailleur Removal
If you already have a broken derailleur on there, you will need to remove this first. If not, ignore these steps. Sometimes it can help to take the old one off as then you understand how it goes back together.
Step one: Break the chain
The first thing to do is to get the bike in the stand. Now you need to break the chain using the chain tool or if your bike has a quick link, then remove it and then remove the chain.
Step two: Remove the derailleur
All you need to do is unscrew the mounting bolt that holds the derailleur on, and this will be situated on the derailleur hanger. You will notice the derailleur will still be attached via a cable. You will need to use your wire cutters to take the end of the cable off, then undo the Allen key bolt which holds it on. Once it is off, you can save it for spares or bin it.
Rear Derailleur Installation
Step one: Recommendations (Not Required)
First, I want to make some recommendations for you. I start this process by looking at your hanger and making sure it is straight. If it is bent, get another. It is possible to bend back straight, but it will be weaker after you have done this.
The following recommendation that I would make is to change the shift cable and the housing that leads from the shifter down to the derailleur. Pull the shift cable out bin it, and then remove all the outer sections but keep them. Cut the new outers the same size as the ones you took off. Run the new shift cable from the shifter and then put the new outers over the cable where they are required.
Step two: Attach the rear derailleur
Take the new derailleur, and then you will need to mount this to the hanger with the derailleur’s mounting bolt provided. Make sure to have it tight or even better, the recommended torque.
Step Three: Attach the cable to the rear derailleur
Now quite simply, you will need to attach the cable to the new derailleur. You will want to make sure you are in the bottom gear (Highest) on the shifter before doing this and only pull the cable finger tight.
Step Four: Attach the chain
Now you will need to rethread the chain back into the drivetrain. Make sure that you have threaded it correctly. Many people commonly make the mistake of not putting it through the rear derailleur cage correctly, and although it still works, it isn’t quiet. Connect the chain back up with the quick link and turn the pedals to check you have done it correctly.
Step Five: High limit screw and low limit screw
The next step is the high and low limit screws. These screws can limit the range of the rear derailleur, so your chain doesn’t fall off the cassette. Start with the high limit screw. This will be how far the rear derailleur can move the chain to the smallest rear sprocket. Turn the pedals while screwing the H screw in clockwise until it skips up a gear, then slowly turn it anti-clockwise until it falls to the original cog. Now, this is set.
Now for the low limit screw adjustments, while turning the pedals, you will be able to push the rear derailleur, so the chain runs up the cassette to the lowest gear (Biggest cog), and you will probably find the derailleur will ting on the spokes and the chain will go too far. What you need to do is push the derailleur to the top cog but screw the L screw clockwise to bring it, so the chain sits level with the center of the cog. To test it is in the correct place, turn the pedals and push the derailleur to the top and provide it goes to the lowest (Biggest) Cog and doesn’t go past into the wheel and the spokes don’t ting it will be fine. Now our limit screws are correct we can move on.
Step Six: Adjust the index screw
We need to index our gears properly so they shift correctly while we are riding. We do this by creating cable tension to the rear derailleur. What I would do now is loosen off your gear cable, make sure the shifter is in the highest gear (Smallest Cog), pull it finger tight, then tighten it back up again using the cable pinch bolt. We do this again to ensure it’s in the right place before we start doing this job and there’s not too much cable tension.
Locate your index screw, typically this will be the screw where the cable enters the derailleur. It will be a small barrel adjuster. Start turning the pedals and click the shifter to select the next gear. More than likely, you will find it won’t move. Now you will need to turn the barrel adjuster anti-clockwise until it skips up to the next gear. Once it has skipped, click to go to the next gear up on the cassette, and if it jumps up straight away, great. If not, adjust the barrel adjuster further and it will change up. If you go too much turn the barrel adjuster clockwise to correct it.
Once you have all the gears working and it shifts up and down as it should you know the cable tension is correct. You now will need to cut the cable about two inches after it attaches to the derailleur and then put a ferrule on it. Now your bike is ready to go with its new derailleur.
Frequently Asked Questions
Is it easier to replace a Derailleur?
Yeah, it’s relatively easy, just take your time and follow each instruction in this guide. We advise when replacing use a new rear derailleur.
I replaced my Derailleur, and my gears still skip?
Then you will need to check your hanger is straight, the derailleur you put on is a good one, the gears are correctly indexed, and the cable inner and outer are ok. It will be one of those causing you the issue.
How much is a Derailleur?
On low-end bikes, you’re looking at roughly $20-$30, and on high-end bikes, you’re looking realistically at $150 to $400.
Do Mountain Bikes have the same Derailleurs as Road Bikes?
They are different derailleurs but work and attach the same.
Conclusion
Fitting a new derailleur isn’t a difficult job. Just take it steady, and before you know it, you will be out riding your bike again. The bike should be shifting flawlessly, and hopefully, you won’t need to replace it again anytime. Going to the local bike shop and asking for advice is always a good idea if you are unsure.