Disc brakes are a fantastic tool when it comes to cycling. They have an incredible ability to stop us fast with minimal pressure on our hands.
For years and years, our bikes were equipped with rim brakes, and these required very little maintenance. Over time we started to see disc brakes hit the market. Firstly on the mountain bike, then eventually all bikes.
Disc brakes require a different kind of maintenance compared to rim brakes, and if this maintenance isn’t done, you will notice some adverse effects such as;
- Massive loss brake performance
- Squeaky and loud brakes
- More force is required by hands to stop you
- Full brake failure
- Can destroying braking components
- Contamination to brakes
How Do We Maintain Our Brakes?
Maintaining brakes is much easier than most people think, and when you have done it a couple of times, you will find it very easy, and it will take a lot less time. This is our step by step guide to maintaining your brakes.
Step One: Prepare your bike
The first thing you need to do is prepare an area where you will be able to wash and work on your bike. Then we need to check we have everything we need to do our bike maintenance.
- Cleaning rags and brushes
- Water and bike cleaning soap
- Brake cleaner spray, we recommend Muc Off
Now it’s time to wash your bike correctly before working on the brakes. If you don’t know how to do this, see our guide HERE! Once your bike is clean, it’s now time to start cleaning your brakes. Have a clean workspace and make sure you have somewhere safe to keep bolts and parts. When using any cleaning products, you wear a mask or goggles and use them as instructed on the can or bottle.
Step Two: Remove the discs for checking
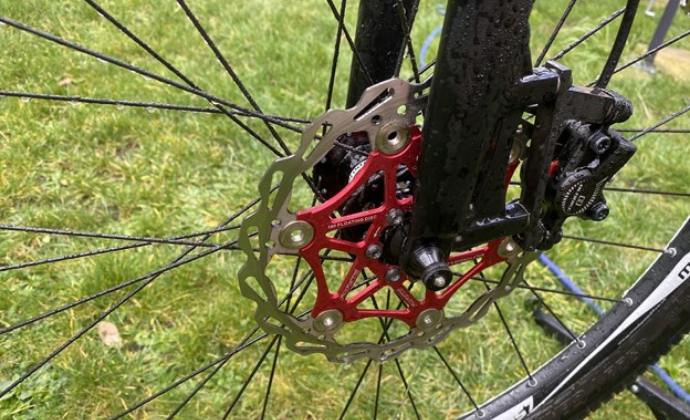
Now we need to start removing some parts off the bike, and before cleaning them, we need to check if they need replacing. The first thing you need to do is take the wheels out of the bike to separate the discs from the brake pads, now it’s time to get these brakes inspected.
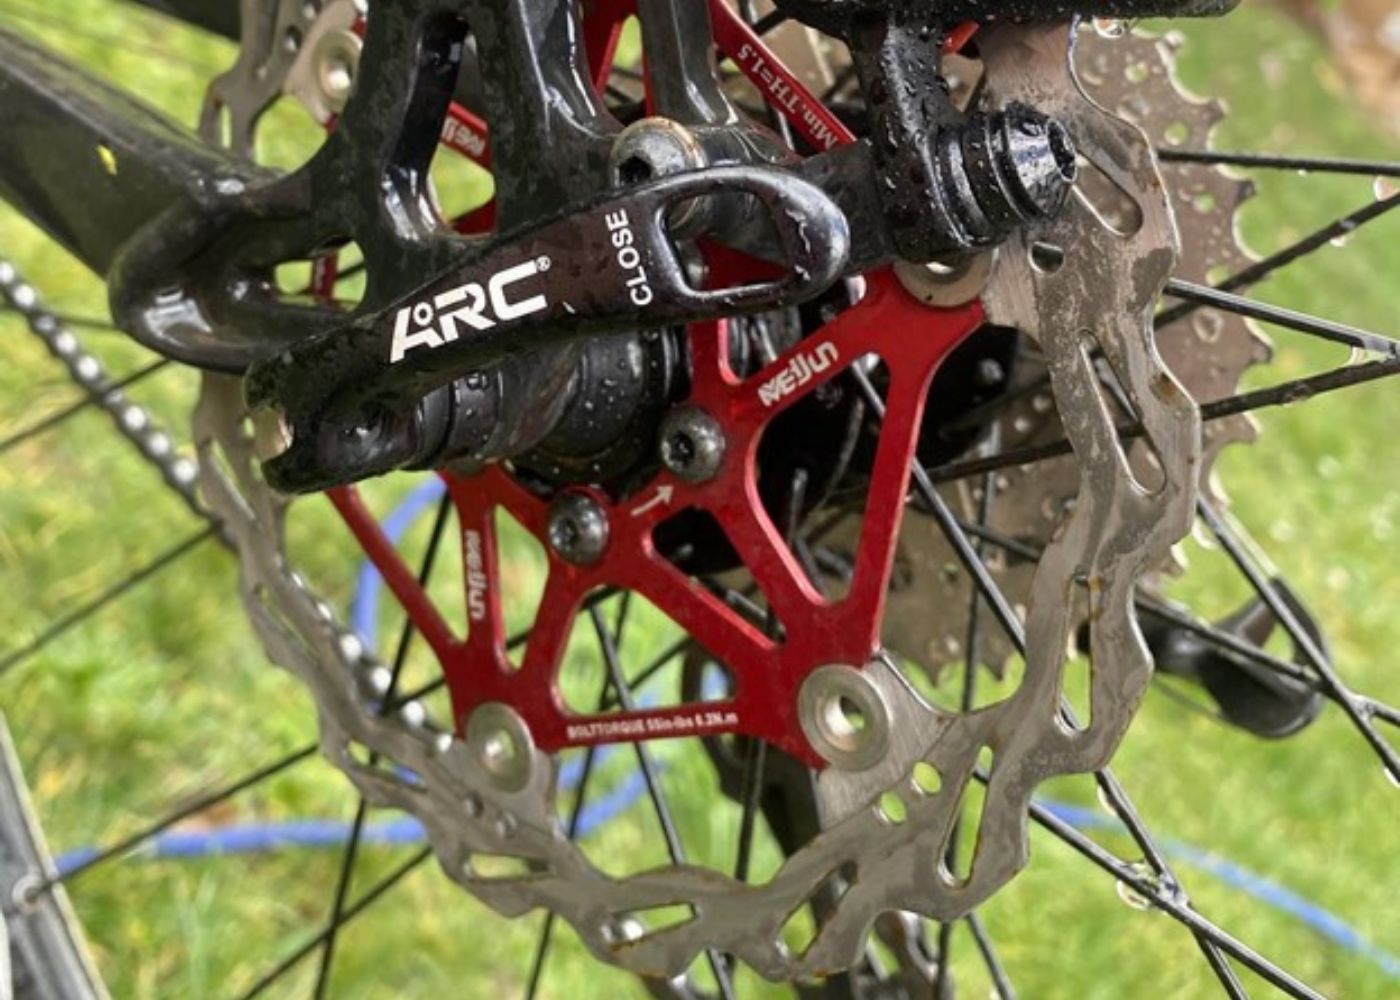
Once the wheel is out, we need to check the brake discs. The first thing to do is check they are straight. It will be pretty obvious if they aren’t, and they can either be replaced, or you can use a straightening tool, which is very cheap to buy. Now that your brake disc is straight and you can see this on a flat surface, we need to check if they are not worn out. Typically brake discs last a very long time, and they won’t often need replacing, but to check, you can either pop them to a bike shop and ask them to measure, or you can use a vernier caliper to measure the width. It should be above 1.5mm on the braking surface. Anything less, consider replacing.
Step Three: Remove the pads for checking
Now we have the brake pads. You already have the wheel out, and you will have easy access to the brake pads. You will need to extract the safety pin first to remove the pads. This is a small pin that holds the brake pads in place, this is either a small Allen key or a small screw to remove, and some systems have a clip you need to remove before you unscrew them. Once the pin is removed, and in a safe place, you will now have access to the brake pads. The pads will slide out from the rear of the caliper with a spring in between. Remember how these came out as you have a left and a right pad. When the brake pads are out, do not press the brake, or the pistons will adjust, and the brakes will rub.
Once the brake pads are out, we check they have life in them. You will see the contact material which clings to the brake disk. You will want to make sure there are at least 2mm. Anything less than this, you are going to want new brake pads. You also need to check for contamination, if the surface is smooth and almost looks reflective, they are contaminated, and you will need new pads. Some cyclists clean, sand them down, try putting them in the oven. We don’t recommend this. Just replace them for safety if they require it. You need the braking surface to feel gritty when you rub it with your fingers.
Step Four: Start cleaning
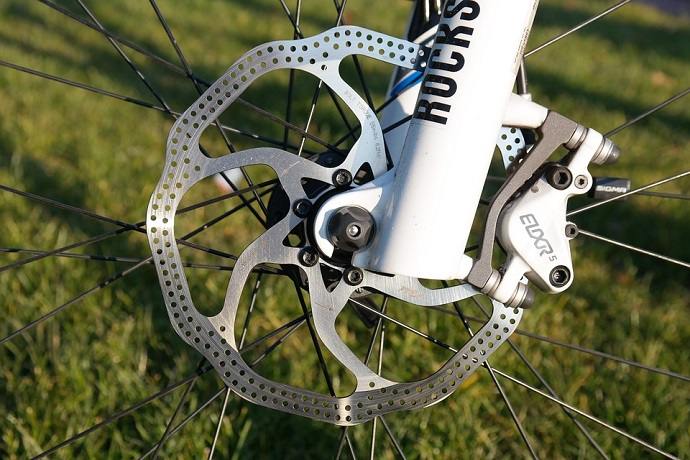
Start with the brake rotor surfaces. You can either take these off fully and spray them with the brake disc cleaner, or you can spray the cleaner on a cloth and wipe the discs braking surfaces. Make sure that you clean both sides, and they are nice, shiny, and dirt free. Next, the pads, get a nice clean cloth and spray the pads. Using the fabric, move the pads around, get them clean, and make sure no dirt is on them. You now want to start cleaning the caliper. Take a cloth with a bit of spray of cleaning solvent on it and begin to wipe around the calipers removing all the dirt on them.
All the parts are now clean. It’s time to start putting everything back together. Start with the disc brake pads making sure the left and right pad go in the right place, and the safety pin is in. Then attach your disc back to the wheel if required, and finally bring the wheels back in. Check they spin freely and are in correctly.
Step Five: Centering the Callipers
Commonly, you find that when you start working on brakes, they will begin to rub. This is a really common issue and can be fixed quickly. If you find they don’t rub, you can skip this step.
We Think You’ll Like It: How to Pump a Mountain Bike Tire
How to determine the brakes your mountain bike has?
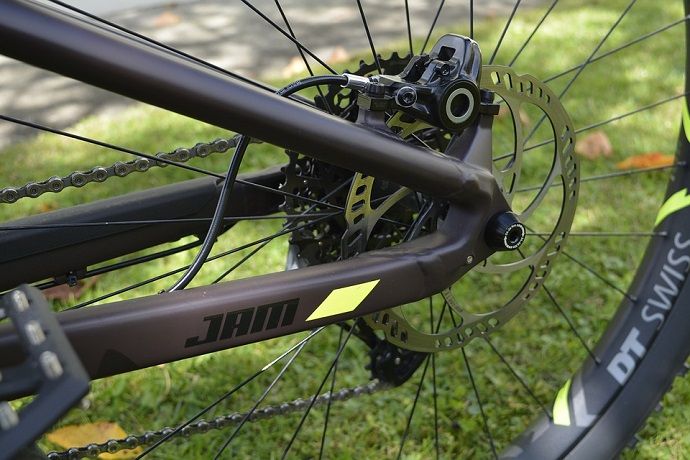
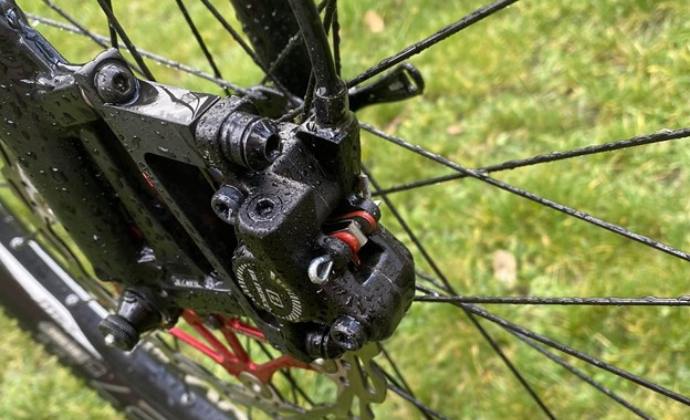
Firstly you need to determine if you have hydraulic brakes or mechanical brakes. Mechanical brakes, you will see a silver cable at the caliper sticking out. Hydraulic, you will have a hose that goes directly into the caliper.
Centering hydraulic brake calipers
If you have hydraulic brakes, you will need to reset the pistons by removing the wheel and the brake pads and pushing the pistons back. This means they are now reset, and now you put the pads and wheel back in.
Slightly loosen the caliper from the frame or fork and then squeeze the brake lever. Hold it tight and tighten up the caliper at the same time. Now they should be centered and not rub.
Centering mechanical brake calipers
Mechanical brakes are very different. Most mechanical brakes have pad adjusters, and using these is much easier to center. The first thing you need to do is unwind the adjusters to fully reset.
Loosen the caliper off slightly where it mounts, pull the brake levers, and tighten back up while holding the brake levers. Now you want to draw the slack out of the cable from the lever by loosening the cable from the lever and tightening again where it goes into the caliper.
Now adjust the pads, so they are 1mm on either side of the disc rotor. Pull the lever to check you have the tension. If it’s too tight or they rub, adjust them out. If it’s too loose, adjust them in more.
Step Six: Check brake, hoses, cables, and housings
This is vital whenever working on brakes to check all the parts of the system. On hydraulic disc brakes, inspect the hoses are not leaking any fluid anywhere as this would cause heavy power loss and brake failure in time. The way to do this is to follow the cable all the way from the lever down to the caliper, making sure nothing is leaking or looks perished.
On mechanical disc brakes, we recommend changing the cables and the housings every service. This keeps your brakes working correctly and sharp. Unlike hydraulic brakes, dirt can ingress a mechanical system much easier. The way to check is to pull the lever, and it should feel free and responsive and return to its original position. If it feels tight or you feel any dead spots where there’s no tension, then you will need to change your cables.
Step Seven: Bed them in
Your bike’s brakes are now back up to full gas. The first thing you will notice is they might feel less responsive the first few times you brake, and they could be a little squeaky. This is entirely normal, and you’re going to want to take your bike around the block or on a light trail slowly to just let the bed in, then you’re done!
We Think You’ll Like It: How to Clean a Mountain Bike
Frequently Asked Questions
How do bike disc brakes get contaminated?
A lot of the time, they get contaminated from literally just washing and maintaining your bike. Cleaning products and products such as chain oil are lubricating, and if they get in your brakes will contaminate them instantly.
After I cleaned my brakes, the discs rub?
This is more than likely one of two things, you either haven’t put the wheel in properly, take it out and try again. There’s also a possibility you had pulled the brake lever when the discs were removed. You might need to reset the pistons. See Step five.
Even after cleaning, my brakes feel spongy?
This could mean they need to be bled again. It’s expected that you will need a brake bleed every few years or thousands of miles, and you will need a bleed kit for this to do it yourself. I would recommend that you go to your local bike shop if you’re unsure of how to do this.
How often do I need to remove and clean my brakes?
I would recommend either when their performance isn’t as good as it should be or when you give your bike a decent clean. It doesn’t need to be done too often. Just make sure to keep on top of it.
How often should I check and adjust brakes?
Whenever you feel that they are losing power or not as efficient, I would check them. Also, check them when you wash the bike. It only takes a minute.
Can you use WD40 on Disc Brakes?
Absolutely not. Please do not put this stuff anywhere near your brakes, as it will ruin them. Use brake cleaner
Are the front and rear brake the same?
Typically yes a mountain bike will have the same hydraulic calipers front and back. This can be different on some brake assemblies.
Conclusion
Keeping on top of your disc brakes is vital as you need them to stop and keep you and others safe. It’s not difficult to do when you know how. Just take your time and make sure everything is done correctly.
We Think You’ll Like It: How to Tighten Mountain Bike Chain